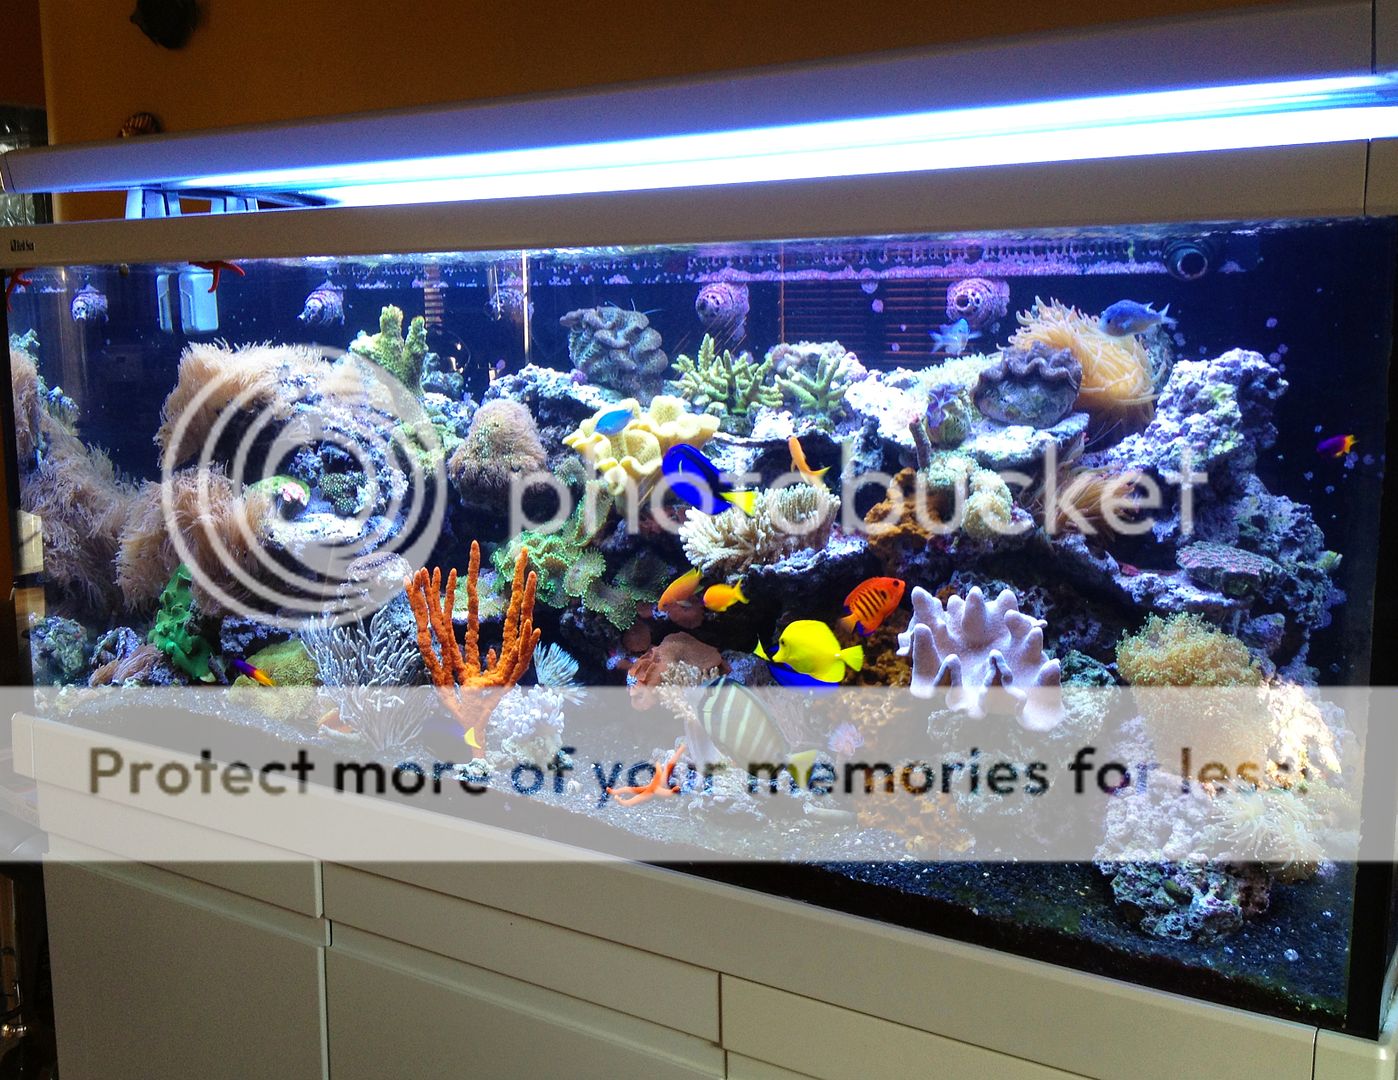
Its been many years since I've brought a new reef tank online.
This particular build was started as a downsizing effort after selling my 180 gallon reef system. My main challenge is to use ALL CURRENTLY OWNED EQUIPMENT so as to maintain a sense of financial efficiency. As of this writing, the only thing I've had to purchase is a gallon of specialty paint for the stand (I refuse to use CA compliant water base for such an appication) but everything else I had on hand.
So, here we go:
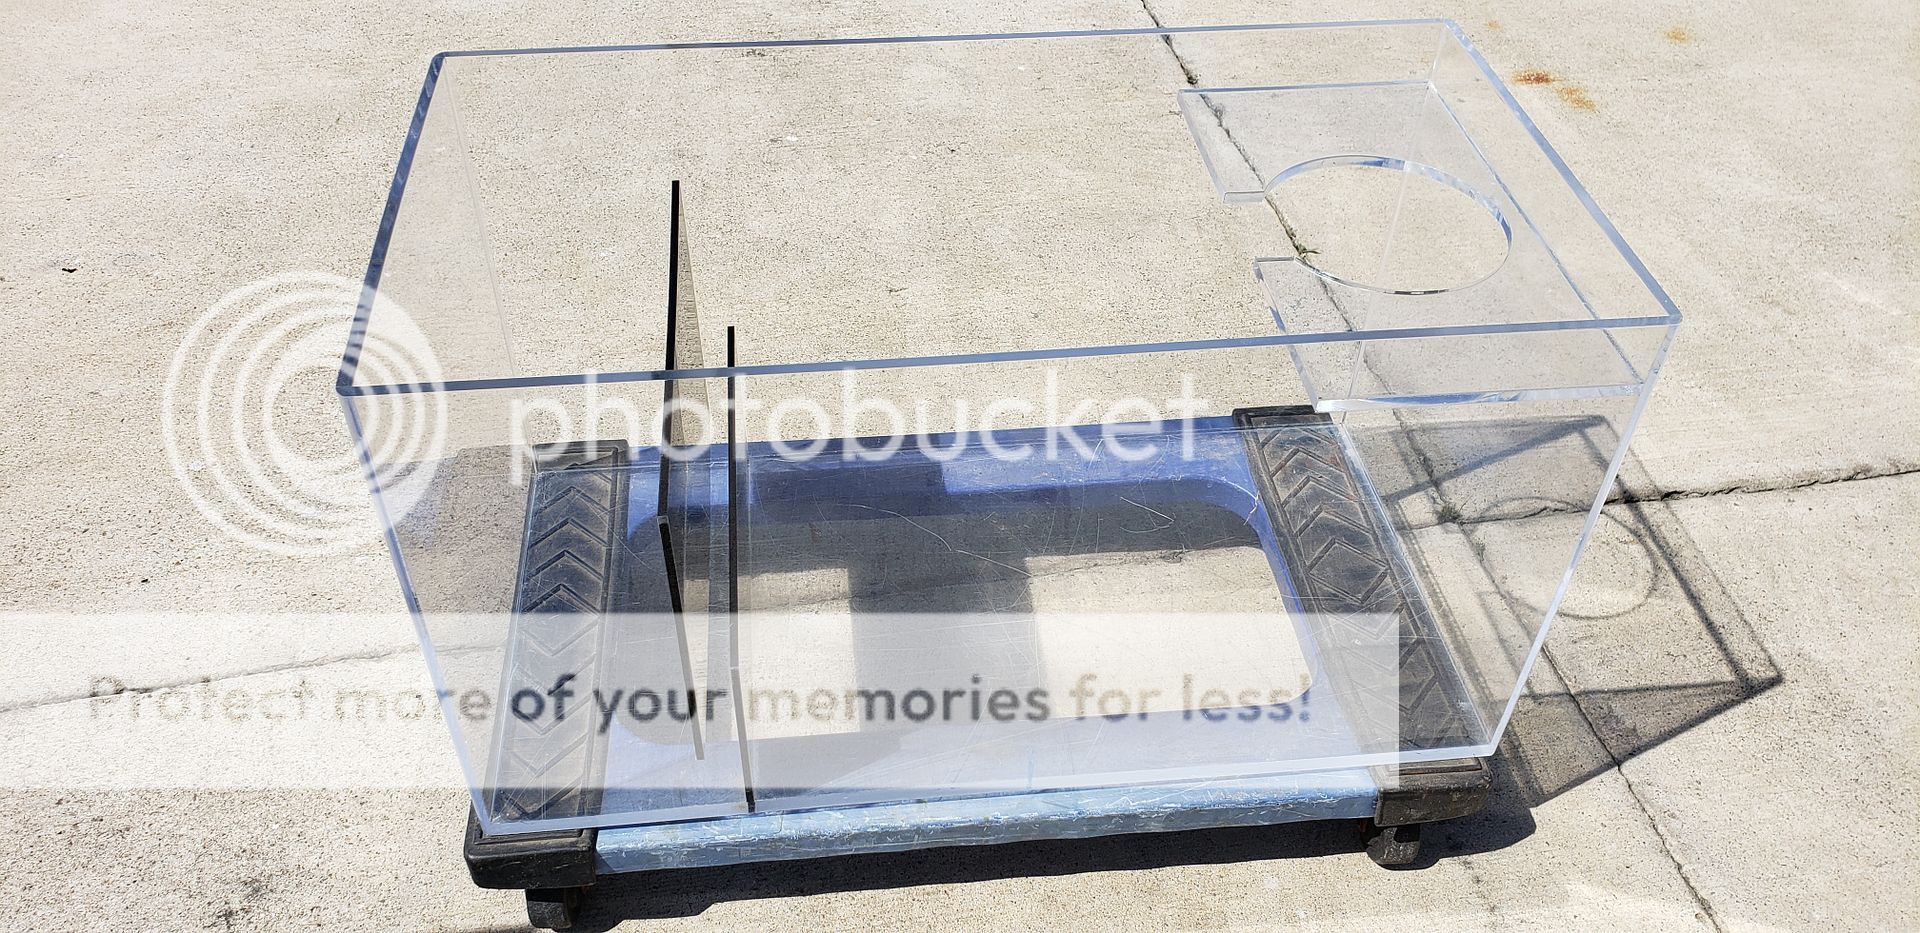
TANK:
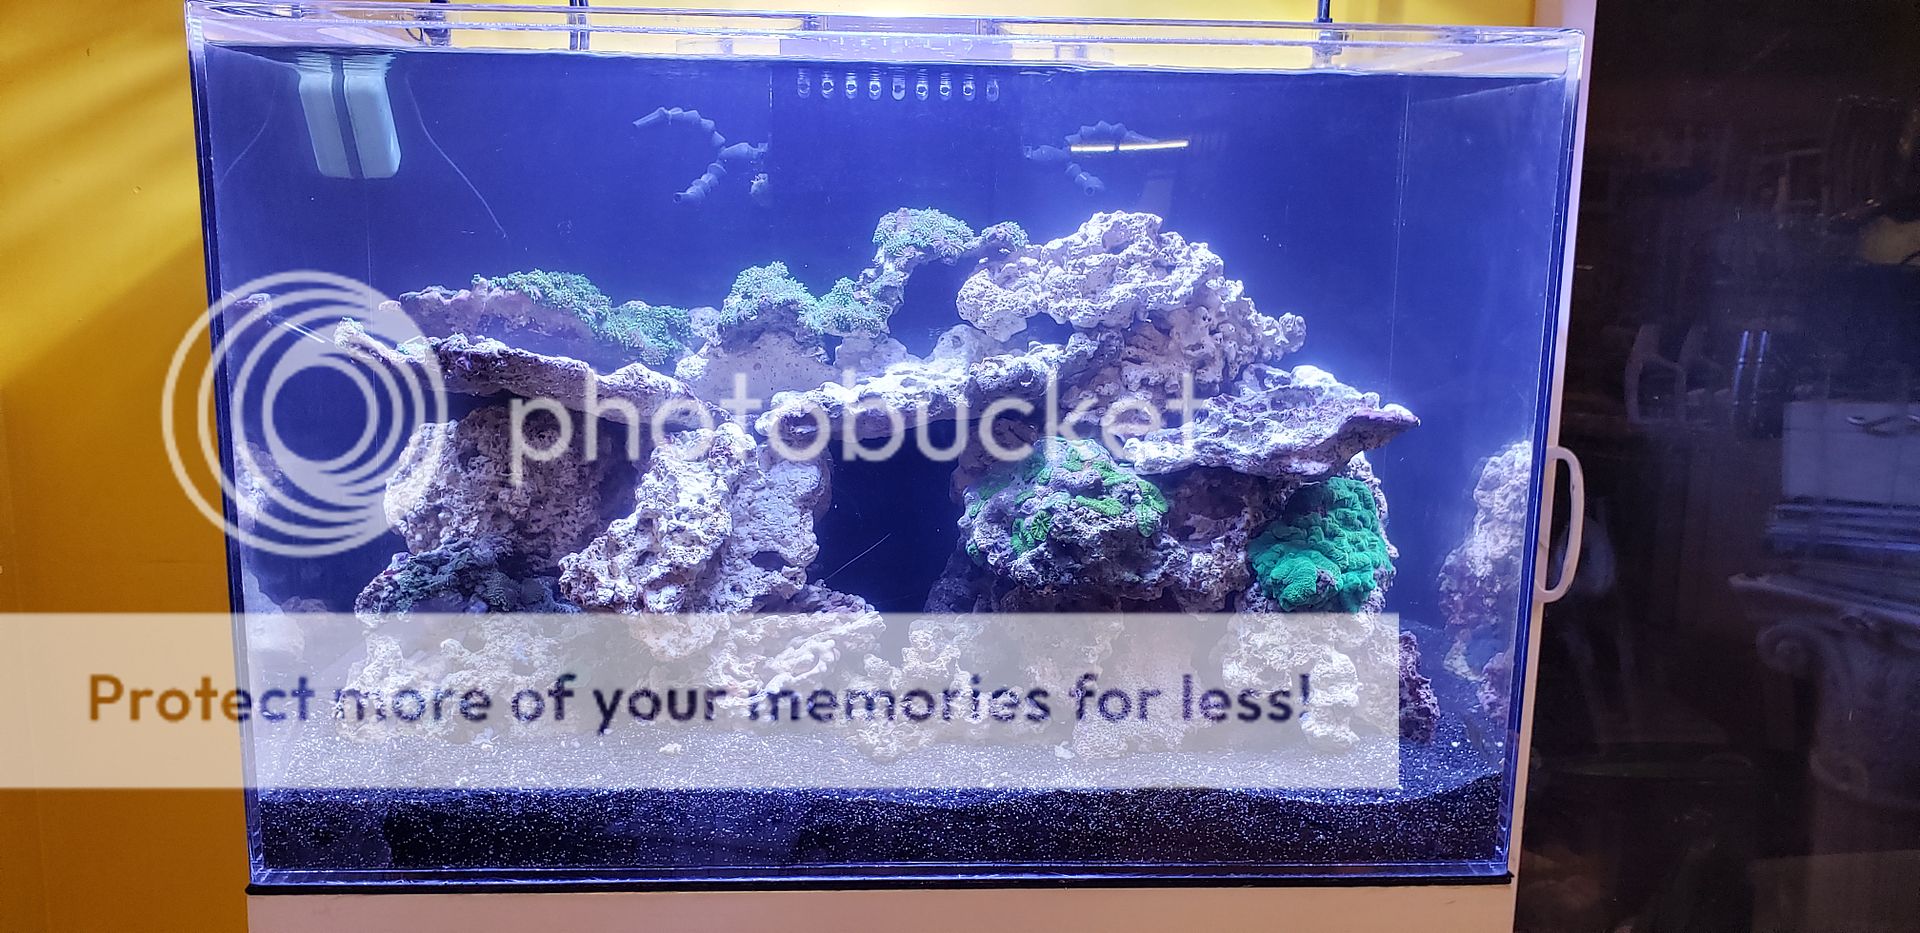
- 60 Gallon Custom Acrylic 36"L x 18"W x 24"T
- Black acrylic back wall w/center rear overflow.
- Custom top insets close off top to thwart jumpers.
I purchased this custom tank from a fellow reefer some 15 or so years ago and had it stored away in a shed all this time! I recently dusted it off, routered a 1/4" roundover on front leading edges, and then completly buffed it out, inside and outside, to where it looks like brandnew acrylic again. Not much of a challenge since I already own a full line of auto detailing equipment including specialty buffers, acrylic polish, etc, I then plumbed out the overflow box, added lockline returns, and other plumbing components such as a proprietar silent overflow of my own design.
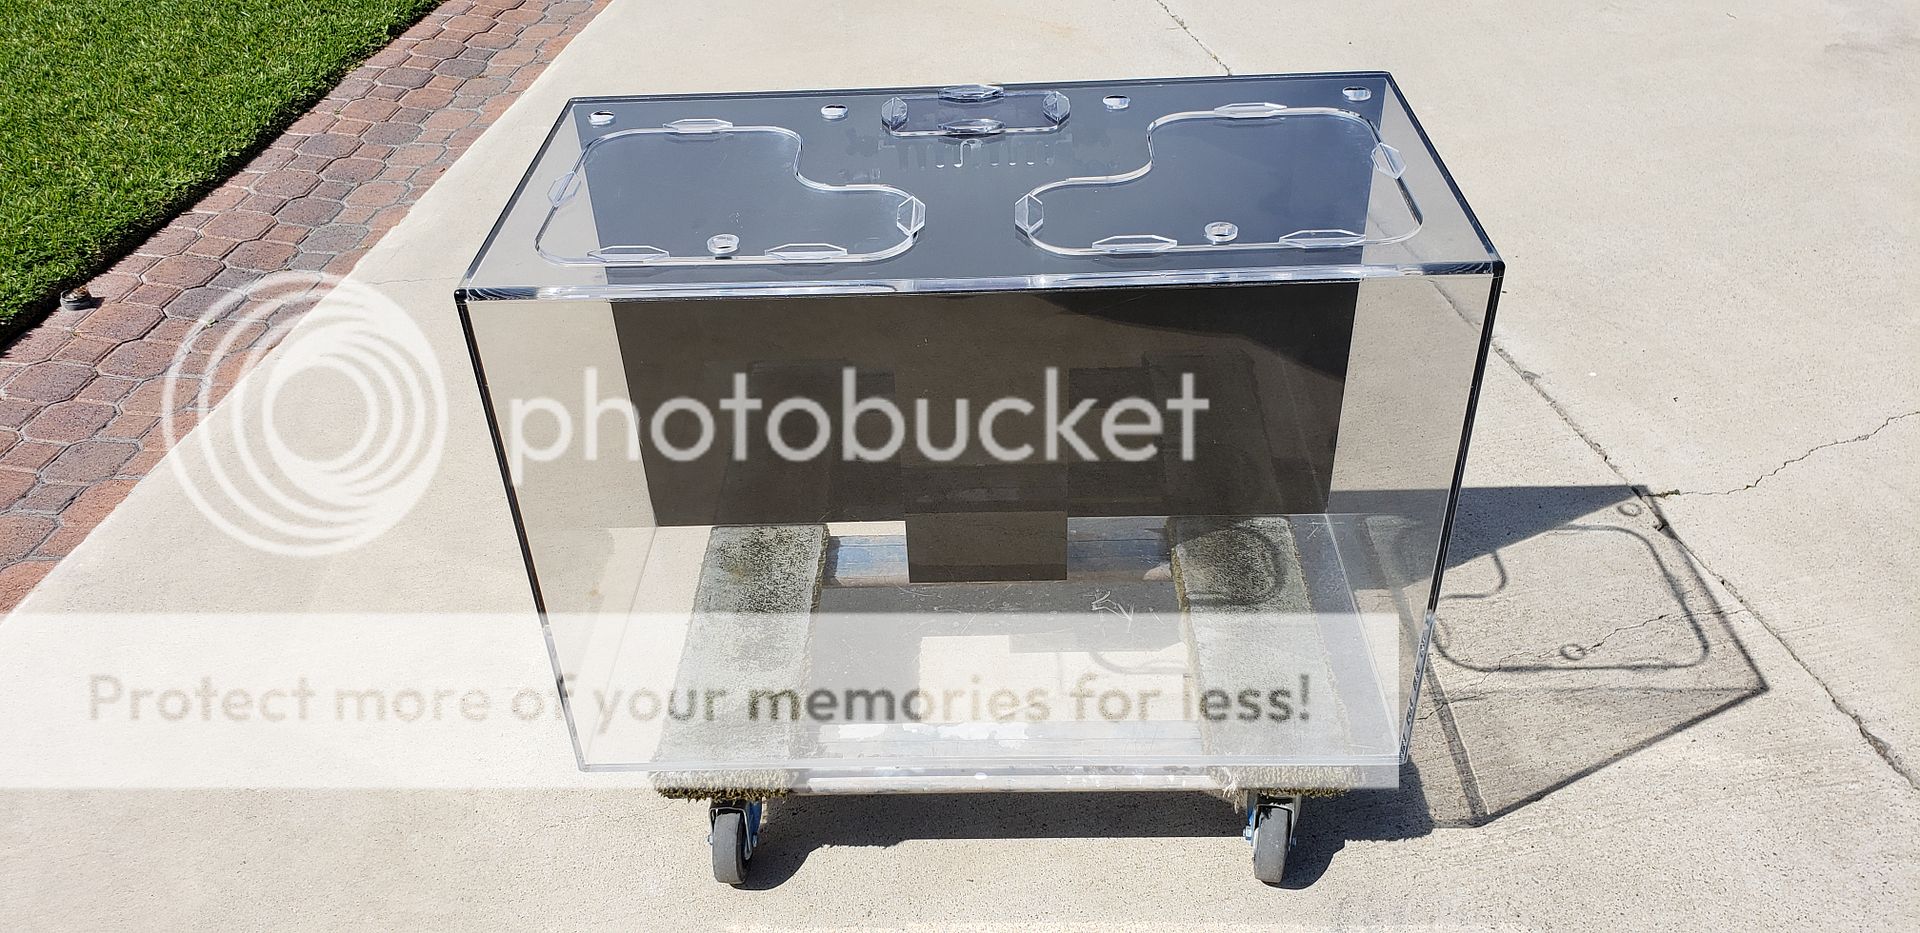
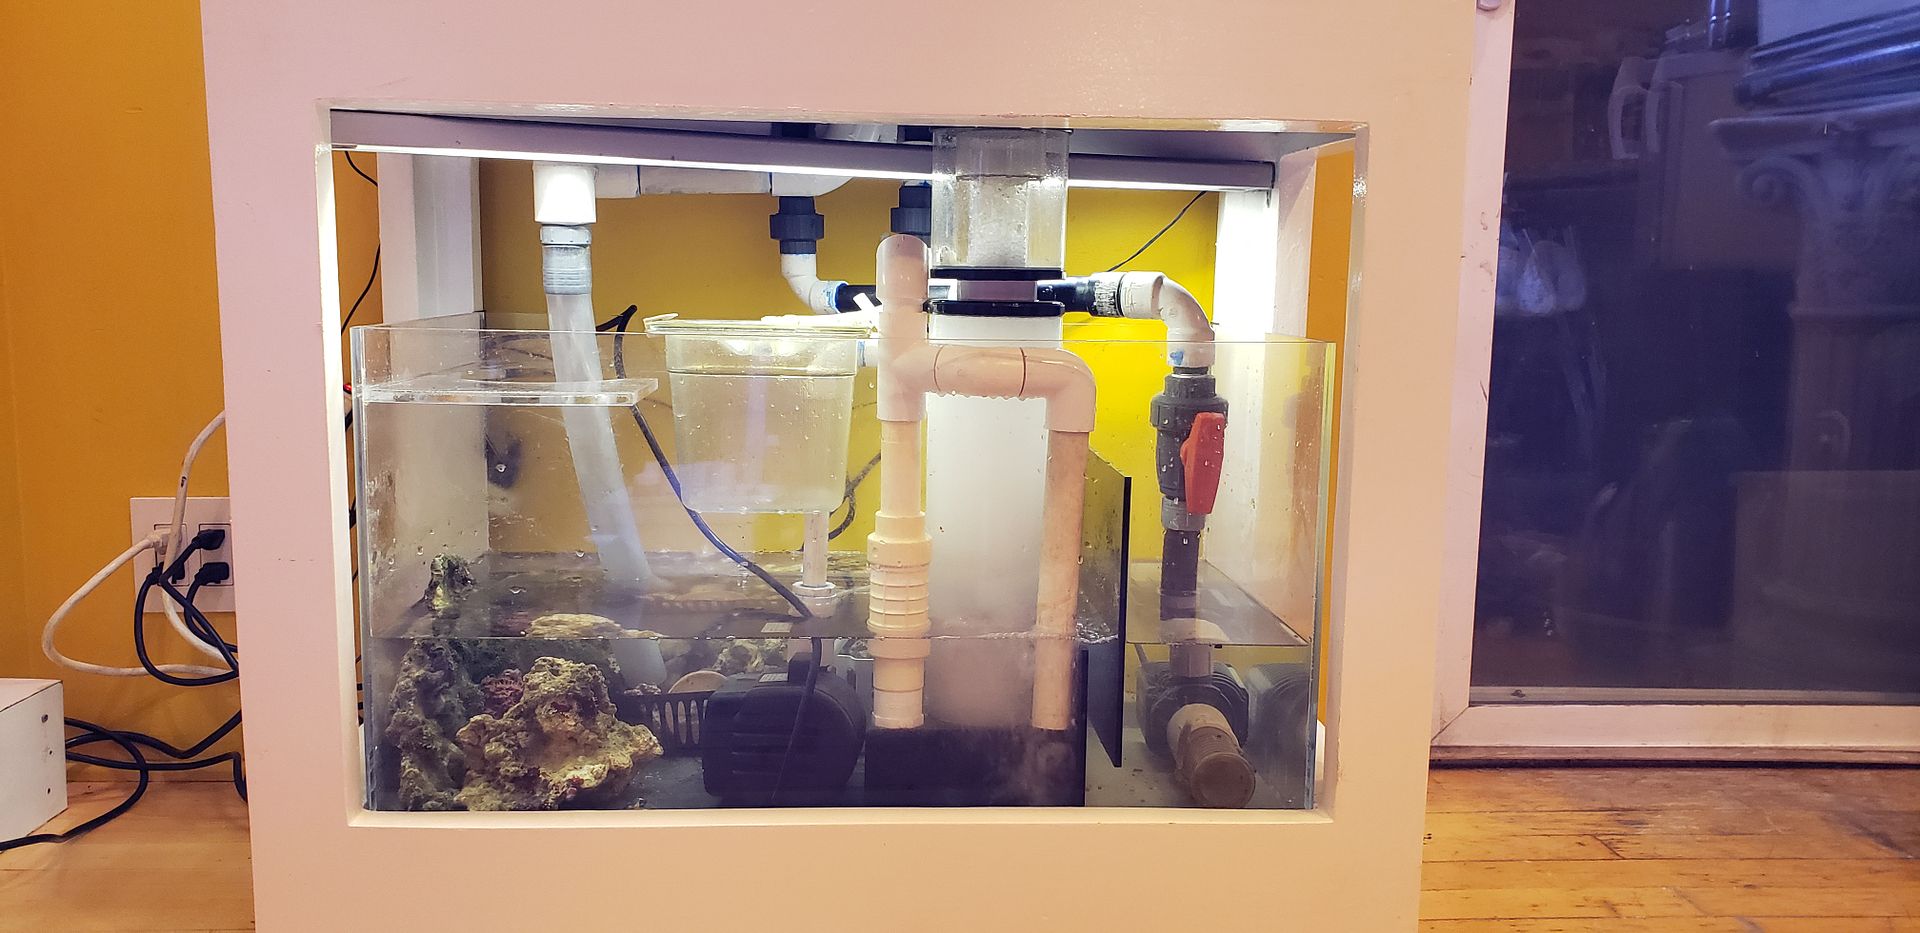
SUMP:
Custom Acrylic 30"L x 15"W x 16"T Sump with baffles and sock ring.
Built of a beefy 5/16" acrylic on all sides, I had ordered this for heavy-duty use with the MAX Children's Tank for many years...
It is now put to good use on this new reef build,
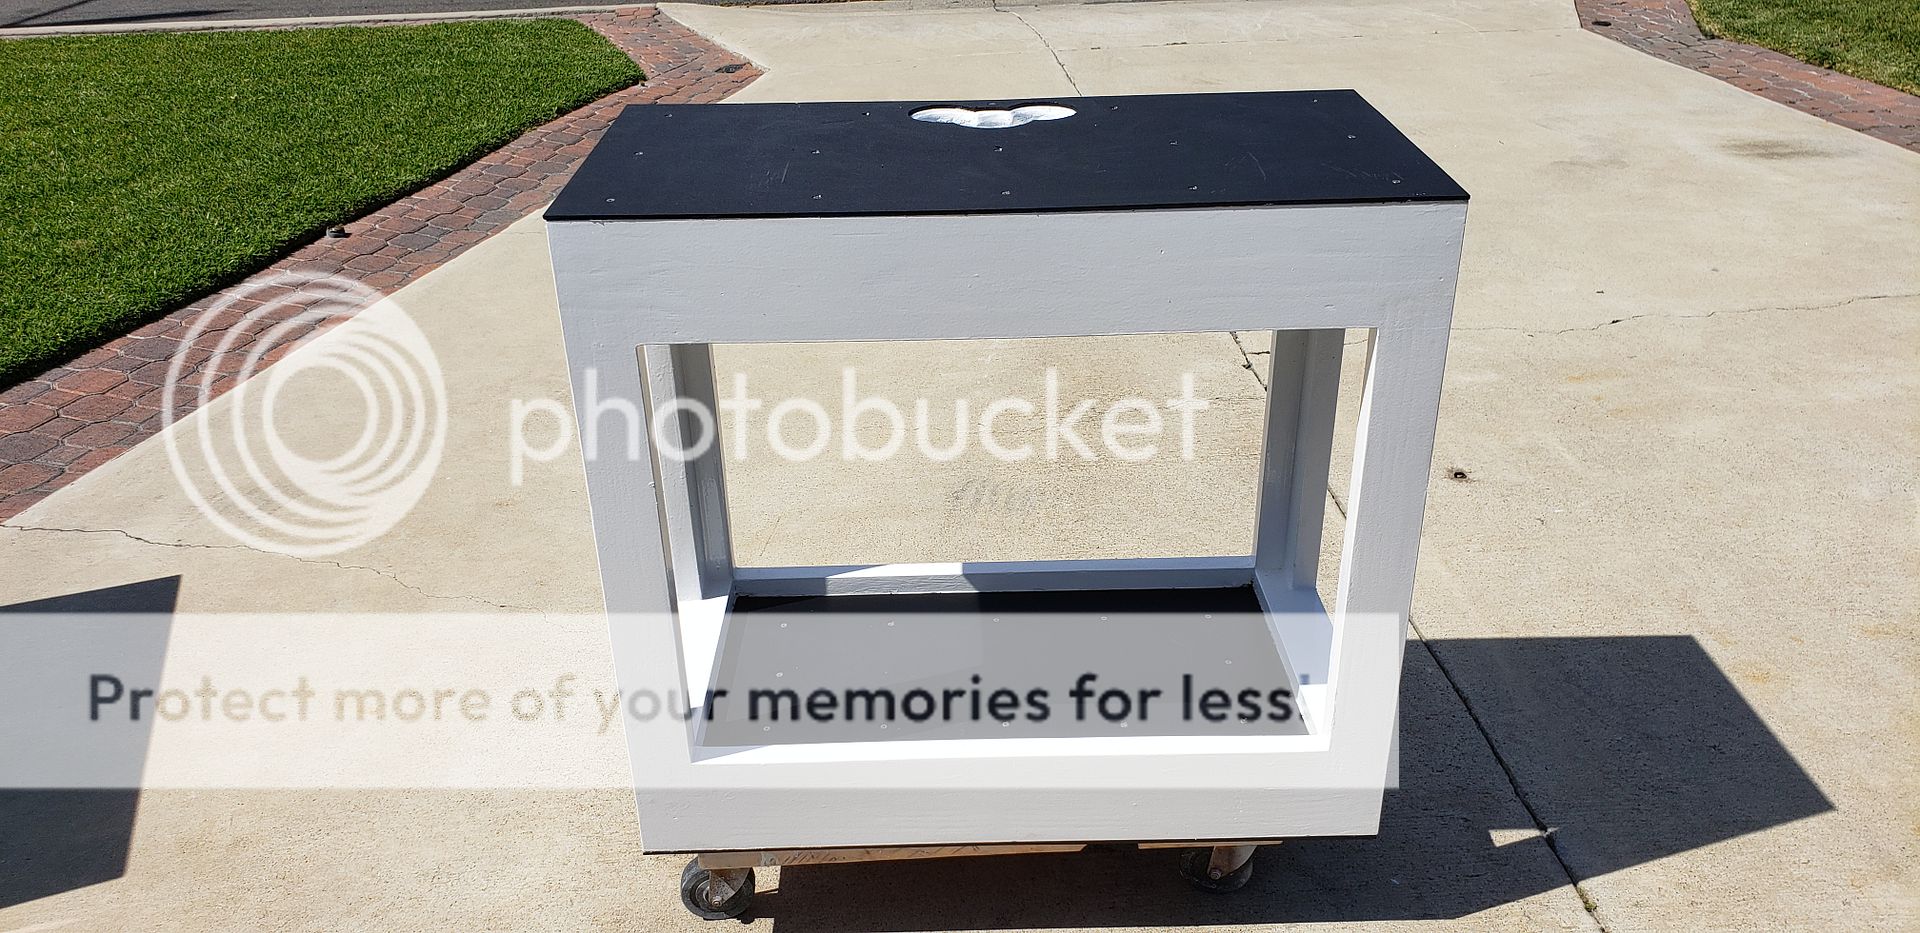
STAND:
All Wood Custom 36"L x 18"W x 32"T of my own design.
Let me first say this: I do NOTHING normal!
I had a particular design and function in mind and (with the help of some trusty tools) I made it happen.
- I wanted NO DOORS, NO SIDES, and NO CENTER SUPPORTS!
A) I want the sump to be a "display sump" and B) I did NOT want my tank to sit on a piece of furniture. I wanted a slim and simple contemporary design. It took alot of engineering, a good amount of wood, glue, and stainless steel fasteners, and perhaps a bit of luck.
Lastly, it was sanded, filled, sanded some more, primed, blocked, primed again, and then FINALLY top coated with Z-Spar Oil-base Marine Top Coat Enamel at a cost of $108 for ONE gallon of paint! (Sheesh!) It is finished off with 4 panels of Black ABS plastic panels for top, bottom, and both middles:
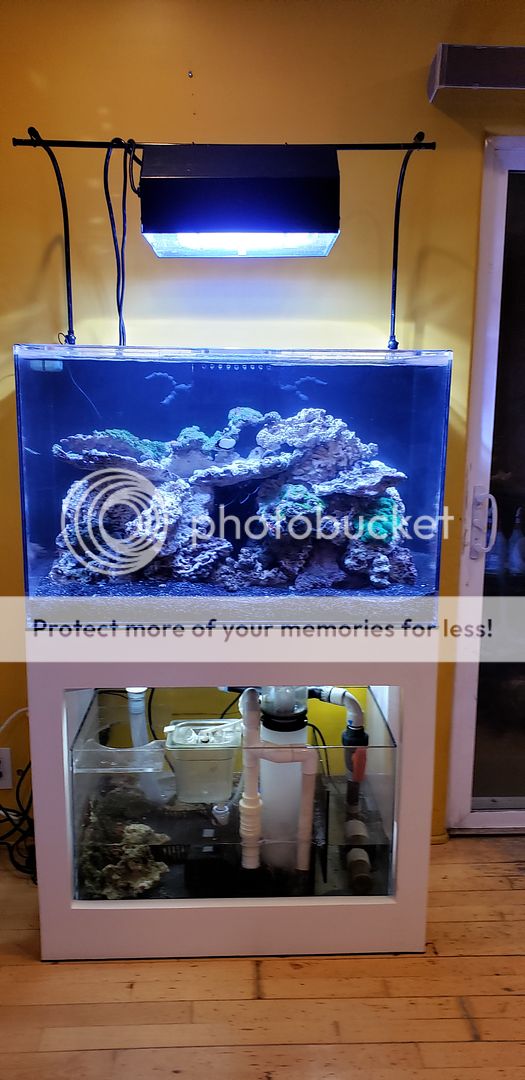
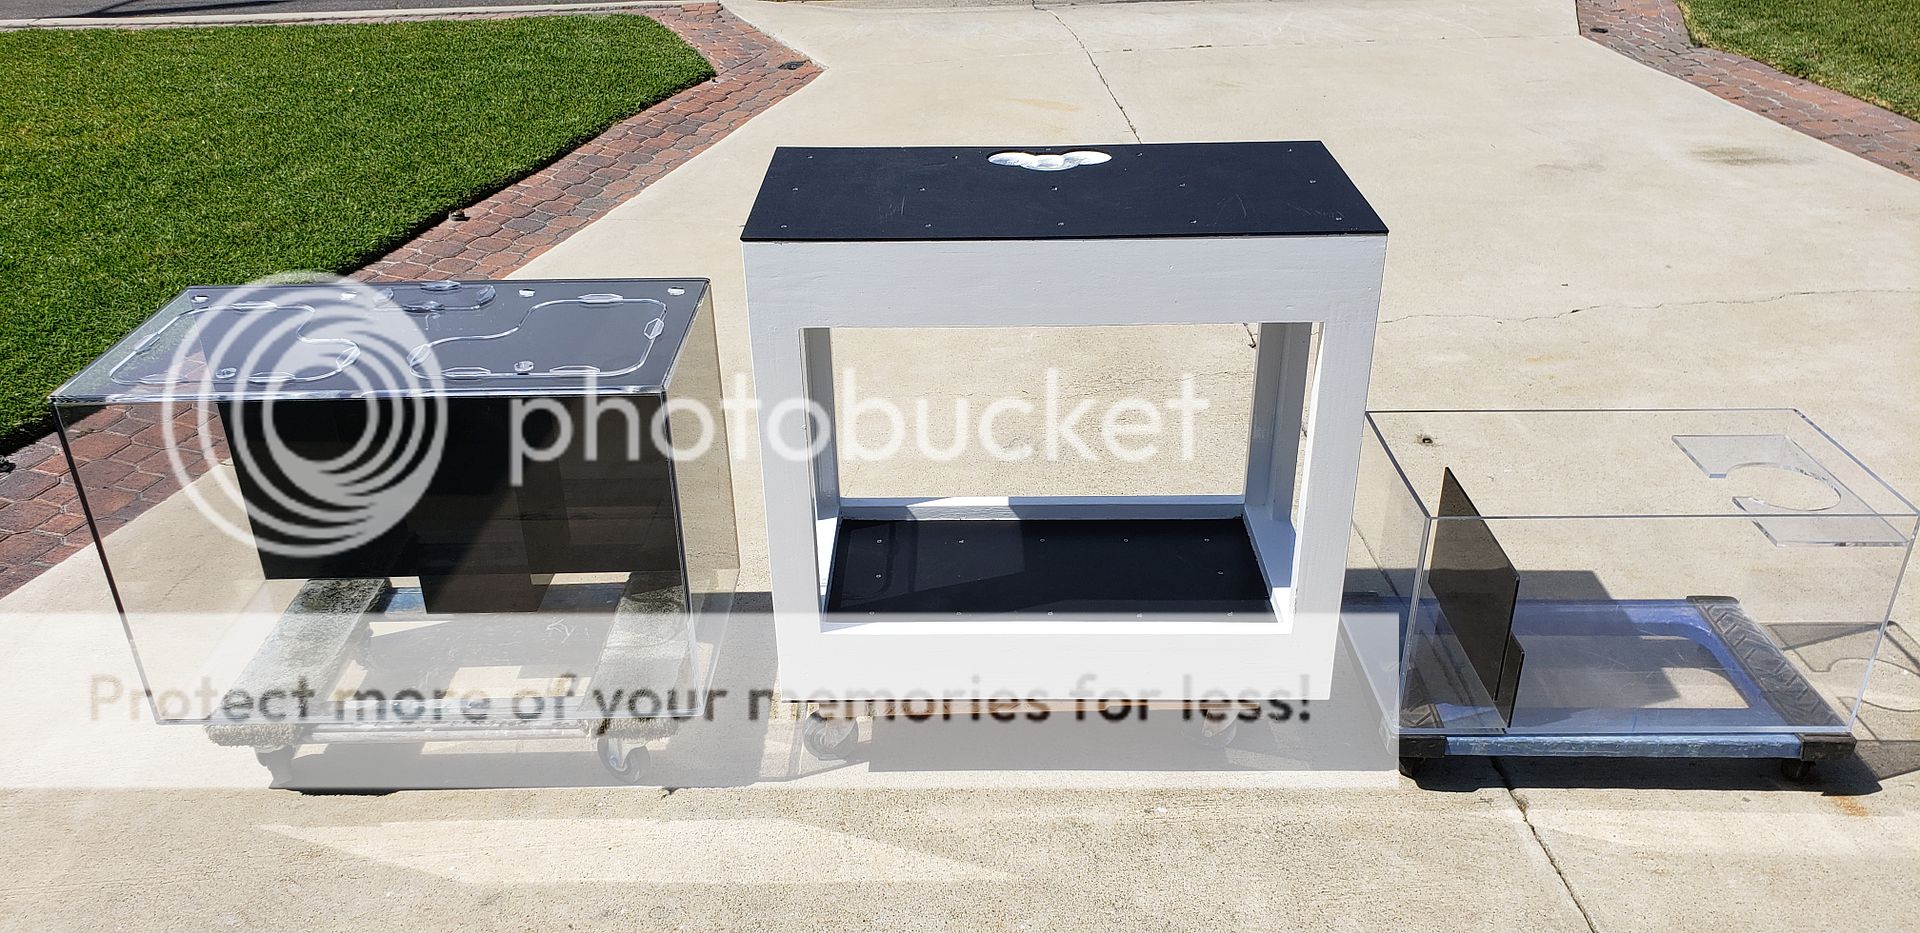
THE THREE MAIN COMPONENTS:
Tank, Stand, and Sump ready to GO!
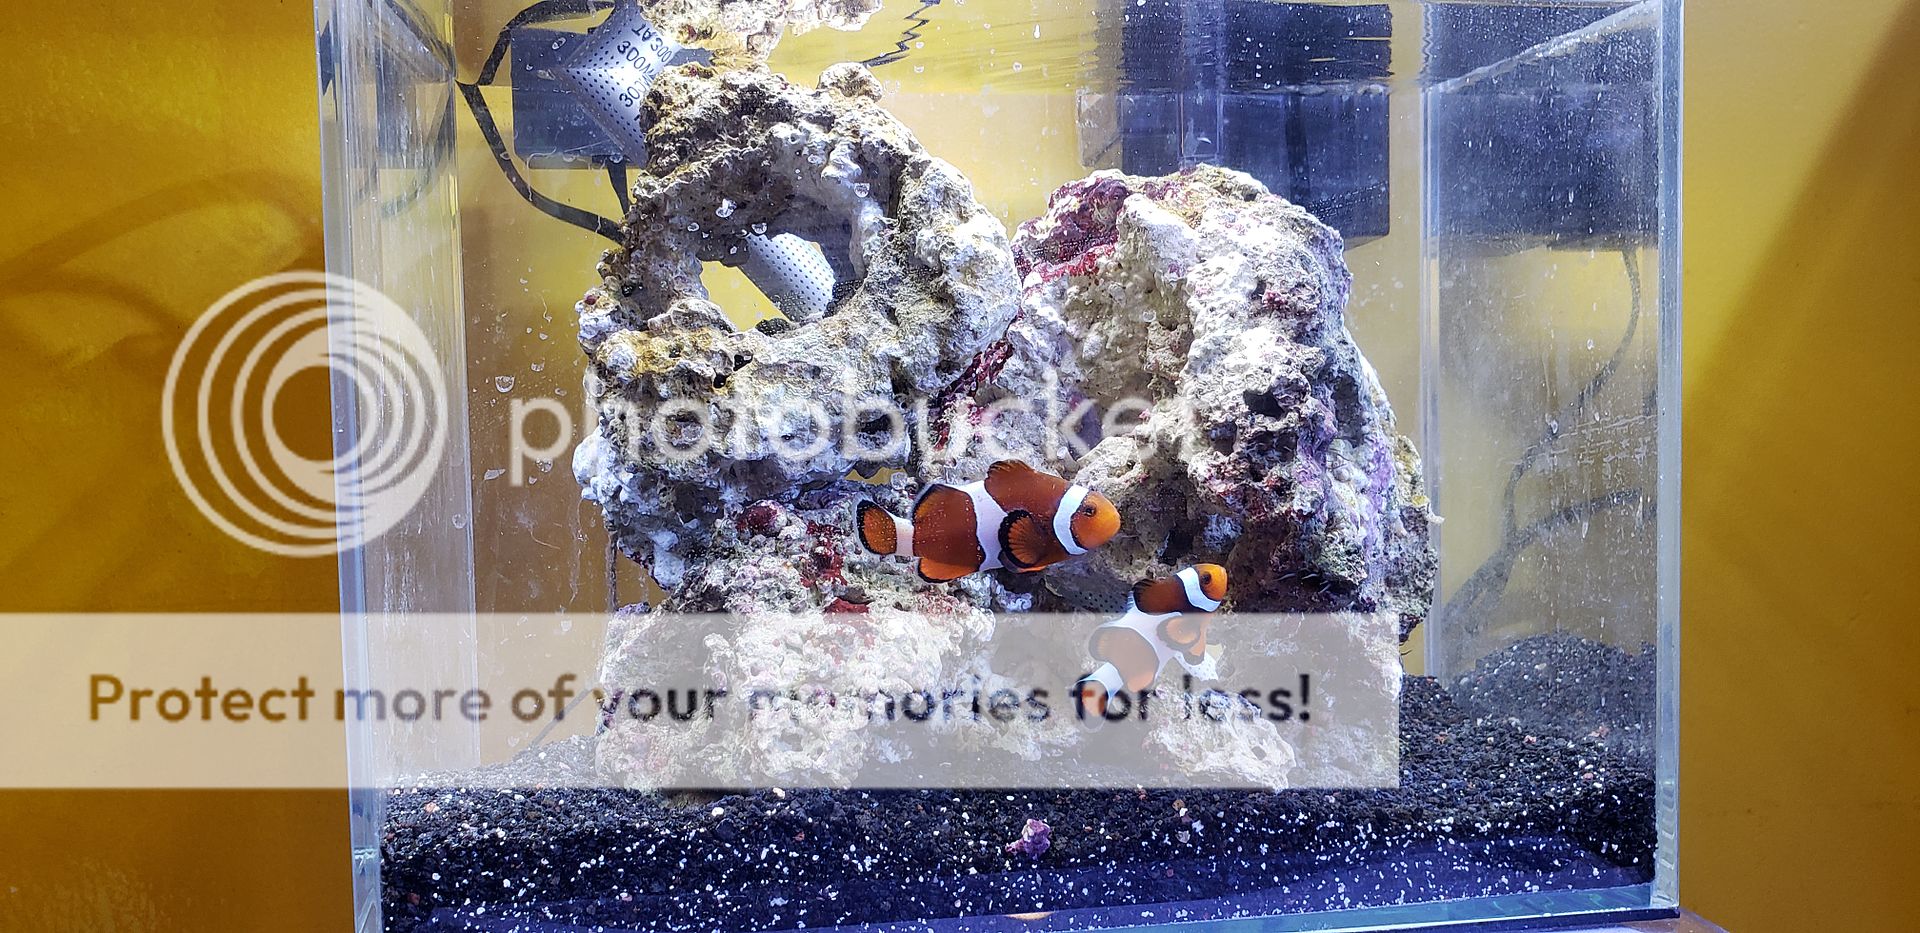
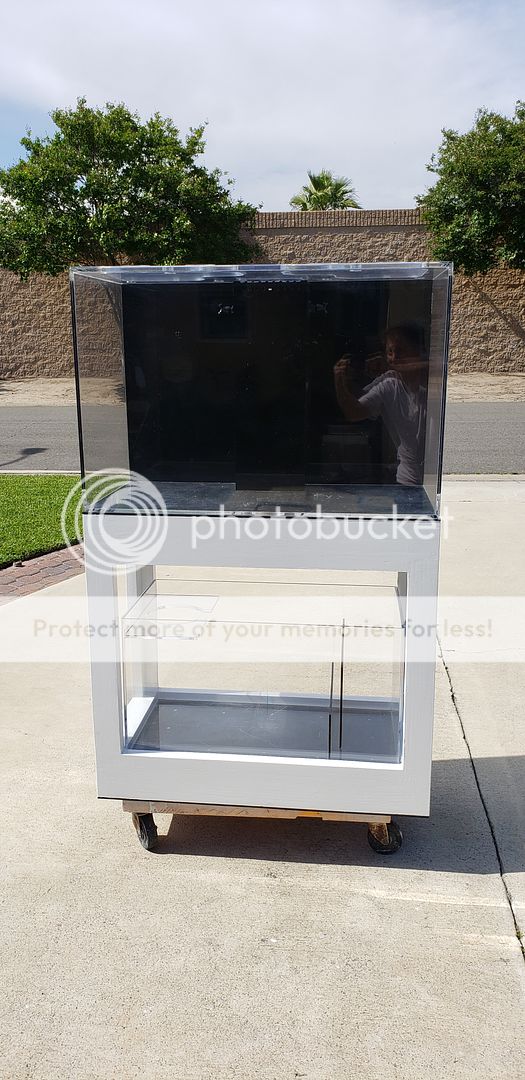
FIRST STACK!
(I even did this on my own, phew!)
TO BE CONTINUED:
This particular build was started as a downsizing effort after selling my 180 gallon reef system. My main challenge is to use ALL CURRENTLY OWNED EQUIPMENT so as to maintain a sense of financial efficiency. As of this writing, the only thing I've had to purchase is a gallon of specialty paint for the stand (I refuse to use CA compliant water base for such an appication) but everything else I had on hand.
So, here we go:
TANK:
- 60 Gallon Custom Acrylic 36"L x 18"W x 24"T
- Black acrylic back wall w/center rear overflow.
- Custom top insets close off top to thwart jumpers.
I purchased this custom tank from a fellow reefer some 15 or so years ago and had it stored away in a shed all this time! I recently dusted it off, routered a 1/4" roundover on front leading edges, and then completly buffed it out, inside and outside, to where it looks like brandnew acrylic again. Not much of a challenge since I already own a full line of auto detailing equipment including specialty buffers, acrylic polish, etc, I then plumbed out the overflow box, added lockline returns, and other plumbing components such as a proprietar silent overflow of my own design.
SUMP:
Custom Acrylic 30"L x 15"W x 16"T Sump with baffles and sock ring.
Built of a beefy 5/16" acrylic on all sides, I had ordered this for heavy-duty use with the MAX Children's Tank for many years...
It is now put to good use on this new reef build,
STAND:
All Wood Custom 36"L x 18"W x 32"T of my own design.
Let me first say this: I do NOTHING normal!
I had a particular design and function in mind and (with the help of some trusty tools) I made it happen.
- I wanted NO DOORS, NO SIDES, and NO CENTER SUPPORTS!
A) I want the sump to be a "display sump" and B) I did NOT want my tank to sit on a piece of furniture. I wanted a slim and simple contemporary design. It took alot of engineering, a good amount of wood, glue, and stainless steel fasteners, and perhaps a bit of luck.
Lastly, it was sanded, filled, sanded some more, primed, blocked, primed again, and then FINALLY top coated with Z-Spar Oil-base Marine Top Coat Enamel at a cost of $108 for ONE gallon of paint! (Sheesh!) It is finished off with 4 panels of Black ABS plastic panels for top, bottom, and both middles:
THE THREE MAIN COMPONENTS:
Tank, Stand, and Sump ready to GO!
FIRST STACK!
(I even did this on my own, phew!)
TO BE CONTINUED:
Last edited: